Installing Exchange 2010 in 20 Minutes or Less
This morning I set out to install Exchange 2010 on Server 2008 R2 and I was amazed I actually had this up and running within 20 minutes of booting my guest virtual machine. I have not looked in to many of the technical advantages of R2 over R1 for Exchange yet, but I can say that the installation requires a lot fewer prerequisite installs than on Server 2008 R1. Here’s a quick guide to getting up and running on R2 with all the server roles installed.
Install a Server 2008 R2 RTM server. I’d recommend using Enterprise Edition so you can add a 2nd Exchange server later and test out the DAGs. I had a Sysprepped image I was able to boot up and join to the domain very quickly.
Copy the Exchange2010-RC1-x64.exe file to your server and run it. Choose a location to extract the files to.
Open a command prompt with administrative privileges and navigate to the folder where you extracted the Exchange files.
Issue the command: servermanagercmd.exe -ip scripts\exchange-all.xml
Ignore the warning about servermanagercmd being deprecated and restart the server when the installation completes.
Open the Services MMC.
Change the Net.Tcp Port Sharing Service startup type to Automatic. The prerequisite check for the CAS role requires this to be set.
Open a command prompt with administrative privileges and navigate to the folder where you extracted the Exchange files.
Issue the command: setup
Click Choose Exchange language option and then click Install only languages from the DVD.
Click Install Microsoft Exchange.
Click Next.
Accept the license terms and click Next.
Select Yes to enable error reporting and press Next.
Select Custom Exchange Server Installation and press Next.
Select the Mailbox Role, Client Access Role, Hub Transport Role, Unified Messaging Role and Management Tools. Press Next.
Name the Exchange organization and press Next.
Select No for Outlook 2003 clients or Entourage (pre-Web Services edition) and press Next.
Check the box Client Access server role will be Internet-facing, enter your public URL (mail.domain.com) and press Next.
Select the option to join the CEIP and press Next.
After the prerequisite check completes click Install.
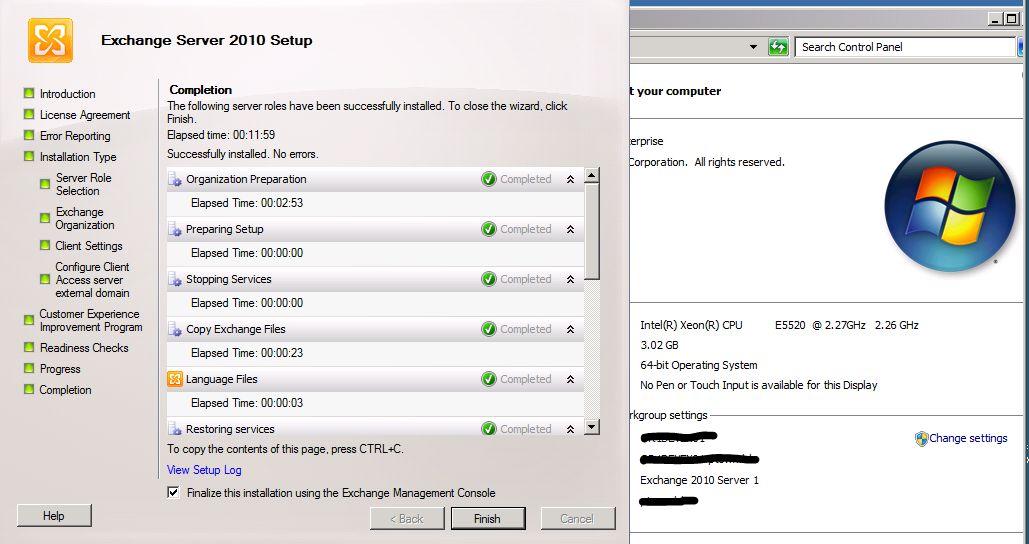
You can see my installer completed in about 12 minutes, which is pretty damn cool. This was a VM with 3 GB of RAM with its VHD on a RAID 10 set. Imagine if this was a production machine with a real amount of RAM.
